How to Practice Soccer in Your Backyard
Sep 10, 2026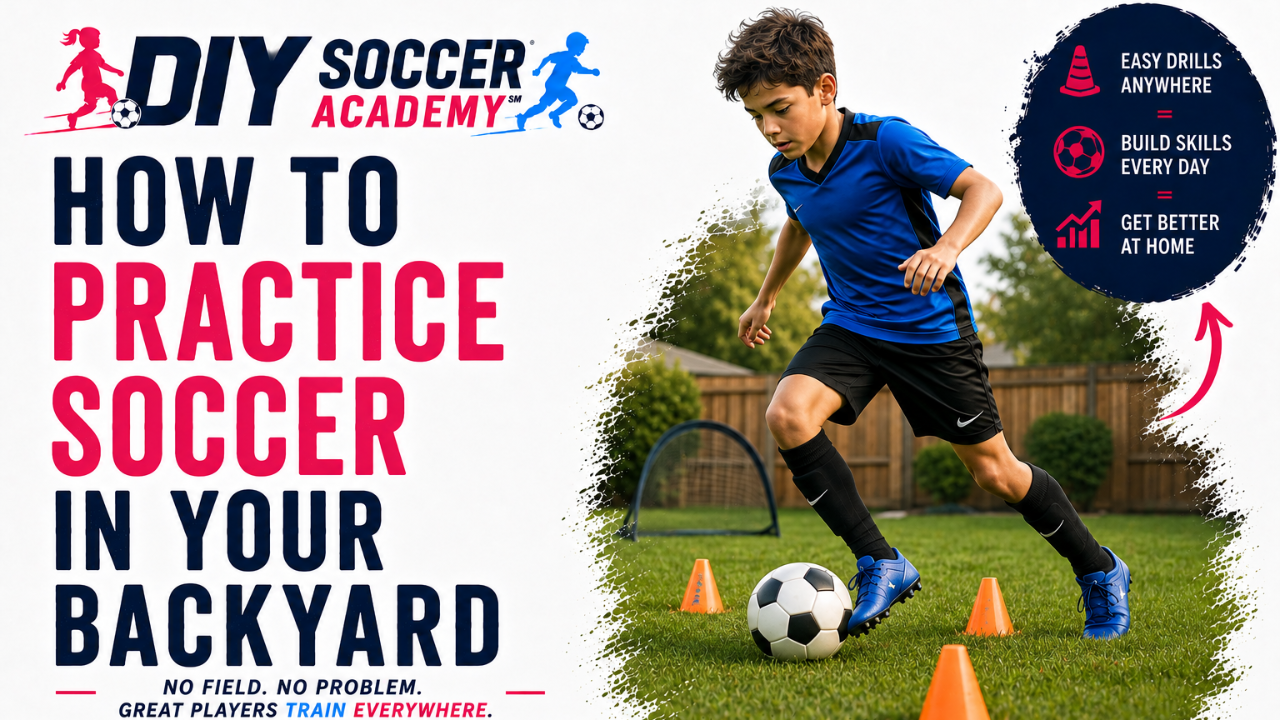
How to Practice Soccer in Your Backyard
Published by DIY Soccer Academy
You don't need a professional soccer field to help your child become a better soccer player.
You don't even need a large backyard.
With a soccer ball, a small amount of space, and a simple training plan, your backyard can become a great place for your child to develop ball control, dribbling, coordination, passing, and confidence.
The key isn't having a perfect training environment.
It's having purposeful practice and consistency.
Even 15 minutes of focused backyard soccer training can give your child valuable extra touches on the ball and help reinforce the skills they're learning at team practices.
Why Backyard Soccer Practice Matters
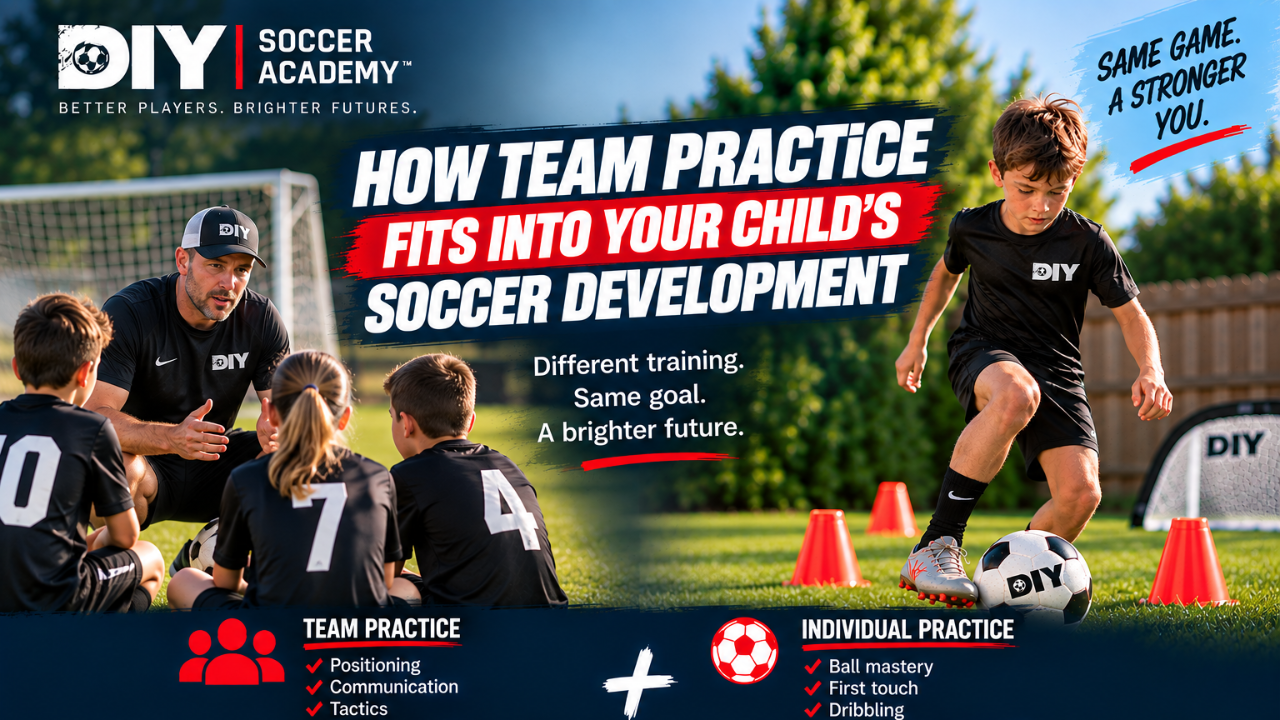
Team practices are important, but your child may only get a limited number of touches on the ball during a typical team session.
Backyard training gives them another opportunity to work on their individual skills.
More importantly, it gives your child a chance to practice at their own pace.
They can repeat a movement.
Make a mistake.
Try again.
Slow things down.
Then gradually increase their speed.
That's how technical confidence develops.
The goal isn't simply to practice more. It's to practice with purpose.
You Don't Need a Huge Backyard
One of the biggest misconceptions about soccer training at home is that you need a large space.
You don't.
Many soccer skills can be practiced in a relatively small area.
For example, your child can work on:
- Ball mastery
- Toe taps
- Foundations
- Inside-outside touches
- Dribbling
- Changes of direction
- Scissors
- First touch
- Weak-foot development
- Close control
- Coordination
In fact, a smaller space can sometimes be beneficial because it encourages players to keep the ball close.
What You Need for Backyard Soccer Training
You can keep your setup simple.
Soccer Ball
The most important piece of equipment is obviously a soccer ball.
Make sure your child has a ball that's appropriate for their age and comfortable for them to control.
Cones or Markers
You don't need expensive training equipment.
A few cones can help create dribbling courses, gates, and boundaries.
If you don't have cones, household objects that are safe and won't damage the ball can work as markers.
A Safe Training Area
Look for a relatively flat area with enough room for your child to move safely.
Remove obstacles that could cause trips or falls, and make sure your child has enough space to train without damaging property.
That's it.
One ball. A little space. A simple plan.
Start With Ball Mastery
Before moving into complicated drills, give your child time to become comfortable with the ball.
Ball mastery exercises are simple movements that help players develop coordination, balance, and control.
Try exercises such as:
Toe Taps
Alternate feet while lightly touching the top of the ball.
Foundations
Move the ball quickly between the inside of both feet.
Inside-Outside Touches
Use the inside and outside of the same foot to move the ball from side to side.
I's
Move the ball forward and backward using controlled touches.
The objective isn't to perform these exercises as quickly as possible.
Control first. Speed second.
Practice Dribbling
Your backyard is a great place to develop dribbling skills.
Set up a few cones or markers and have your child dribble through them.
Start slowly.
Focus on keeping the ball close.
Then gradually increase the speed while maintaining control.
Encourage your child to use both feet and different parts of the foot.
You can also change the challenge by asking them to:
- Use only their right foot
- Use only their left foot
- Use the inside of their foot
- Use the outside of their foot
- Change direction at each cone
- Speed up between cones
- Slow down before changing direction
These simple adjustments can turn one drill into multiple training opportunities.
Work on Changes of Direction
Being able to change direction quickly is an important part of dribbling.
Place two or three markers in the backyard.
Have your child dribble toward one marker, perform a change of direction, and accelerate toward the next.
They can practice moves such as:
- Inside cut
- Outside cut
- Scissors
- Pullback
- Step-over
The important part is not simply performing the move.
Your child should learn to change direction while maintaining control of the ball.
Practice Using the Weak Foot
The backyard is also a perfect place to develop your child's weaker foot.
Many young players naturally rely on their dominant foot.
That's normal.
But becoming comfortable using both feet can give players more options when they play.
Start simple.
Have your child complete basic ball mastery exercises with their weaker foot.
Then progress to:
- Dribbling
- Passing
- First touch
- Changes of direction
- Shooting, if you have a safe setup
Don't expect their weak foot to feel as comfortable immediately.
The goal is consistent exposure.
A few minutes of weak-foot practice every week can add up over time.
Practice First Touch
First touch is another skill that can be developed at home.
If you have a parent or sibling available, they can gently pass the ball to your child.
Your child can practice receiving the ball with:
- Inside of the foot
- Outside of the foot
- Sole
- Thigh, when appropriate
- Other controlled surfaces
Focus on helping the ball go where the player wants it to go.
The objective isn't simply to stop the ball.
It's to control the ball into the next action.
For example:
Receive → touch into space → dribble.
That's much closer to what happens during a real game.
Make Backyard Training Game-Like
Drills can be useful, but children also need opportunities to make decisions.
Once your child becomes comfortable with a skill, add a challenge.
For example:
Dribbling Challenge
How quickly can they complete the course while maintaining control?
Weak-Foot Challenge
How many successful touches can they make using only their weaker foot?
Cone Challenge
Can they dribble through the course without touching a cone?
Move Challenge
Can they perform a scissors move and accelerate away?
Turning practice into small challenges can make training more engaging.
Keep Training Short
You don't need your child to spend an hour in the backyard every day.
For many young players, 15 focused minutes can be plenty.
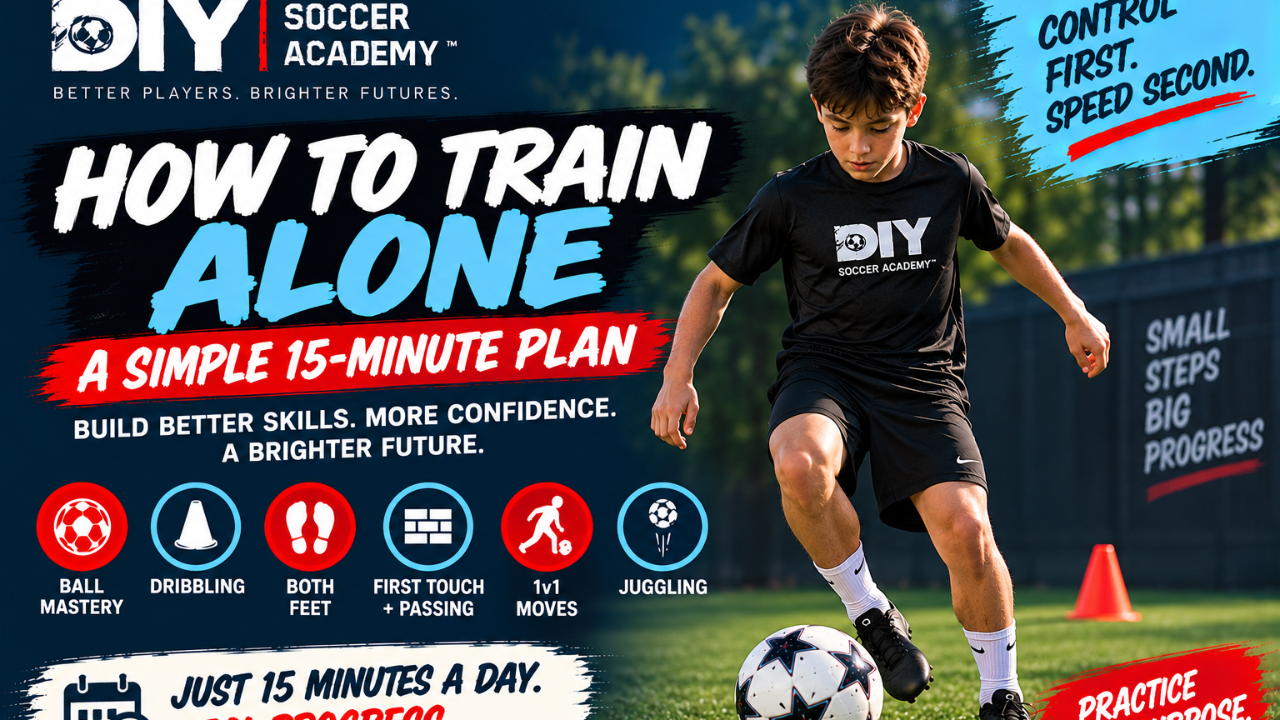
A simple session could look like this:
3 minutes — Ball Mastery
Toe taps, foundations, and inside-outside touches.
4 minutes — Dribbling
Dribble through cones using both feet.
3 minutes — Soccer Move
Practice scissors, step-overs, or changes of direction.
3 minutes — Weak Foot
Dribble and control the ball using the weaker foot.
2 minutes — Challenge
Finish with a fun challenge or game.
That's a complete training session in just 15 minutes.
Don't Turn Every Session Into a Test
Backyard training should be an opportunity to learn.
Your child doesn't need to perform every skill perfectly.
If they make a mistake, encourage them to try again.
If a drill is difficult, slow it down.
If they master something, increase the challenge.
The goal is progressive improvement.
Avoid constantly saying:
"You're doing it wrong."
Instead, try:
"Let's slow it down and try it again."
Or:
"Great effort. Now let's see if you can keep the ball closer."
Small changes in how you provide feedback can make training feel much more positive.
Let Your Child Take Ownership
As your child becomes more comfortable training at home, give them more responsibility.
Let them choose a move to practice.
Let them set a personal goal.
Let them decide whether they want to work on their weak foot or dribbling.
Ask:
"What would you like to get better at today?"
This helps your child begin to take ownership of their development.
Ultimately, you want your child to become someone who wants to practice, rather than someone who only practices because a parent tells them to.
Consistency Beats Intensity
One of the biggest mistakes parents make is trying to do too much at once.
Your child doesn't need a complicated training program with dozens of drills.
They need a simple routine they can repeat.
Fifteen minutes of purposeful training several times a week can be more sustainable than an occasional one-hour session.
Think about development over months and years—not days.
A player who consistently gets extra touches on the ball will accumulate thousands of repetitions over time.
That's where meaningful improvement happens.
What Parents Should Do During Backyard Training
You don't have to be a soccer coach.
Your role can simply be to create the opportunity.
You can:
- Set up the training area
- Help your child follow the session
- Encourage effort
- Keep training positive
- Help them stay consistent
- Celebrate improvement
You don't need to correct every movement.
You don't need to explain every technique.
Sometimes the best thing you can do is simply let your child practice.
A Simple Backyard Soccer Routine
If you're looking for an easy place to start, try this:
Step 1: Warm Up With the Ball
Spend a few minutes moving around with the ball.
Step 2: Master the Basics
Practice toe taps, foundations, and controlled touches.
Step 3: Dribble
Set up a few markers and work on close control.
Step 4: Add a Move
Choose one soccer move and practice it repeatedly.
Step 5: Use the Weak Foot
Spend a few minutes using the weaker foot.
Step 6: Finish With a Challenge
End with something fun that gives your child a chance to test what they practiced.
Keep it simple.
Keep it positive.
Keep it consistent.
Your Backyard Can Be Part of Your Child's Development Journey
Your child doesn't need access to a professional training facility every day to improve.
They need opportunities to touch the ball.
They need repetition.
They need purposeful practice.
And they need an environment where mistakes are part of learning.
A backyard, driveway, or small open space can provide all of that.
The most important thing isn't the size of the space.
It's what your child does with the time they have.
Help Your Child Train With Purpose
At DIY Soccer Academy, we believe soccer development should fit into real family life.
That's why our training approach focuses on short, structured, purposeful sessions that young players can follow at home.
With as little as 15 minutes a day, your child can build ball mastery, dribbling, first touch, coordination, weak-foot confidence, and other essential soccer skills.
You don't need a professional field.
You don't need expensive private lessons.
You just need a ball, a little space, and a plan.
And your backyard can be the perfect place to start.
FAQs
1. Can my child practice soccer in the backyard?
Yes. A backyard can be a great place for young players to develop ball control, dribbling, coordination, first touch, and weak-foot skills. You don't need a full-size soccer field or expensive equipment to get started.
2. What soccer drills can kids do in the backyard?
Kids can practice ball mastery, toe taps, foundations, inside-outside touches, dribbling through cones, changes of direction, soccer moves, first touch, and weak-foot exercises in a relatively small space.
3. How much space do you need to practice soccer at home?
You don't need a large backyard. Many individual soccer skills can be practiced in a small, safe area. A smaller space can actually help young players develop close ball control because they have to keep the ball near their feet.
4. How long should my child practice soccer at home?
For young players, short and consistent sessions can be very effective. A focused 15-minute soccer training session can provide valuable repetitions without making training feel overwhelming.
5. What equipment do I need for backyard soccer training?
You can start with a soccer ball and a safe training area. A few cones or markers can be helpful for dribbling exercises, but expensive training equipment isn't necessary.
6. How can I help my child practice soccer at home?
Parents can create a safe training space, provide a ball and simple training plan, encourage consistency, and celebrate effort and improvement. Parents don't need to be professional soccer coaches to support their child's development.
7. How can my child improve their weak foot at home?
Start with simple touches and ball mastery using the weaker foot. Progress to dribbling, passing, first touch, and changes of direction. A few minutes of consistent weak-foot practice can help build comfort and confidence over time.
8. Can backyard soccer practice improve my child's ball control?
Yes. Repeated touches on the ball can help young players develop coordination, balance, and comfort with the ball. Exercises such as toe taps, foundations, inside-outside touches, and close dribbling are useful for developing ball control.
9. How often should kids practice soccer at home?
Consistency is more important than doing extremely long sessions. Adding several short, purposeful training sessions throughout the week can help players accumulate valuable repetitions while keeping training manageable for families.
10. How can I make backyard soccer practice fun for my child?
Use challenges and games instead of making every session feel like a drill. Try timed dribbling courses, weak-foot challenges, cone challenges, or see how many controlled touches your child can complete. Keeping practice fun can help children stay motivated.